Recording Images: Color of Light
Photo Filter Effects for Digital Images
Photoshop offers various ways of correcting color, including Camera RAW, Curves, Auto Color, or Variations, among others. For an overview of digital color correction see the book’s index for digital color. One tool, the Photo Filter, emulates traditional over-the-lens warming and cooling filters. However, unlike camera filters, Photoshop's Photo Filter provides the ability to choose from preset colors or to customize colors by using a color palette and density adjustment.
Photo Filter Adjustment Layer
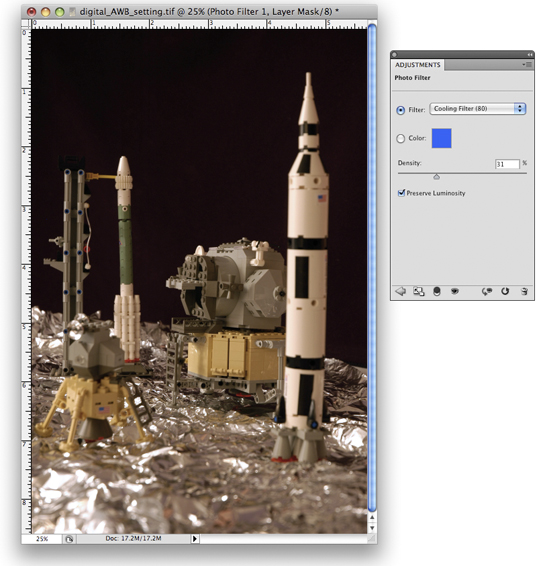
The Photo Filter tool (Layer > New Adjustment Layer > Photo Filter or click the Photo Filter icon in the Adjustments panel) is an easy way to correct a color cast or to warm or cool a scene. If your image is too warm, select a filter with a cool hue; if the image is too cool, select a warm filter. Choose a preset filter for common color casts. For example, photographing in tungsten light with a daylight film or white balance setting will create a yellowish-orange cast.
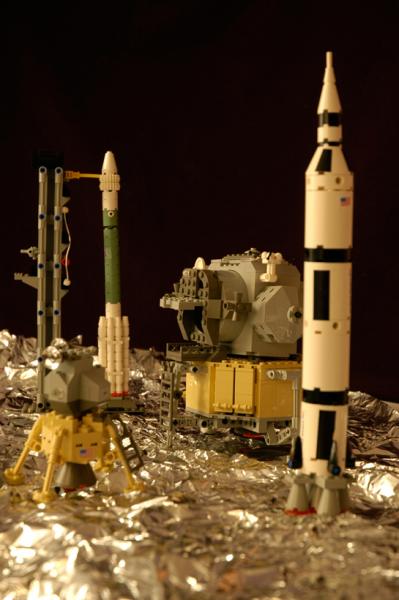
photo: Shawn Scully
We use a blue 80 filter to neutralize the orange cast from the tungsten light.
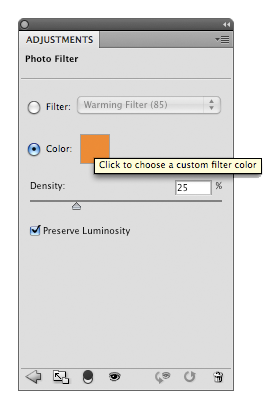
Alternatively, photographing in daylight with a tungsten film or white balance setting will result in a blue cast that can be corrected with an orange 85 filter. After applying the filter, adjust the amount of color correction by sliding the Density value. Depending upon the strength of your color cast, the default density of 25% may be too modest or too intense. The Preserve Luminosity option tells Photoshop not to darken the brightness values within your image. Lessen the filter's effects in the highlights by deselecting the Preserve Luminosity option.
Customizing a photo filter
You can also customize a Photo Filter by selecting Color and clicking on the color swatch to open the Color Picker panel.
To choose a filter color, it is sometimes easier to first identify the color of the cast and then invert that color to pinpoint the filter color. To do so, click on the color that resembles the cast in the Color Picker panel. In our example, we’ve selected a cream color that resembles the cast.
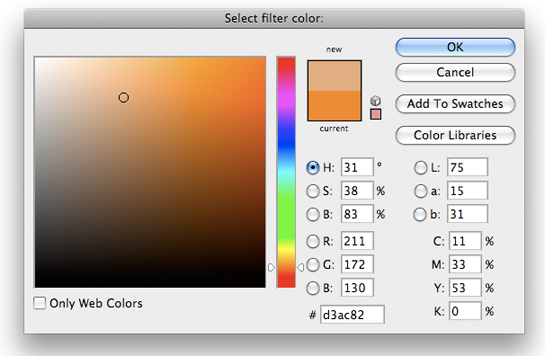
Invert the Lab a and Lab b values in the dialog box by adding or removing minuses in front of the existing values.
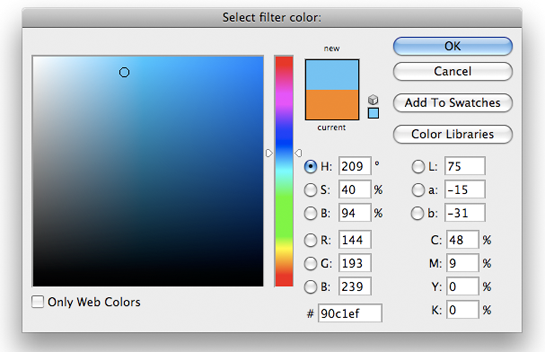
Click OK. In the Photo Filter panel, adjust the amount of color correction by sliding the Density value.
* All Adobe product screen shots reprinted with permission from Adobe Systems Incorporated.